
Prerequisites
- Administrator access to your Okta account
- Your Datazone instance domain (e.g.,
app.datazone.co)
Configuration Steps
1. Create a New SAML Application in Okta
In your Okta Admin Console, create a new SAML 2.0 application integration for Datazone.
2. Choose SAML 2.0 as Sign-On Method
When prompted to select a sign-on method, choose SAML 2.0.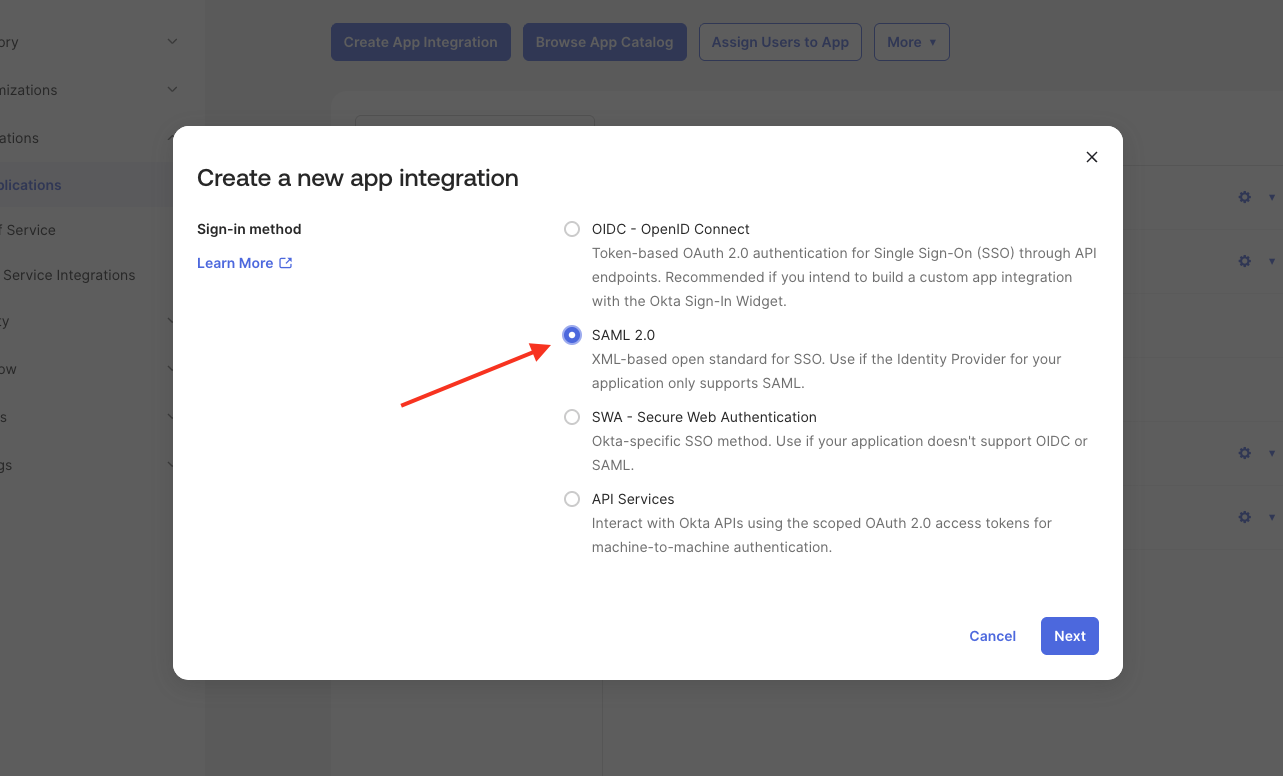
3. Configure General Settings
In the General Settings section, provide a name for the application (e.g., “Datazone SSO”).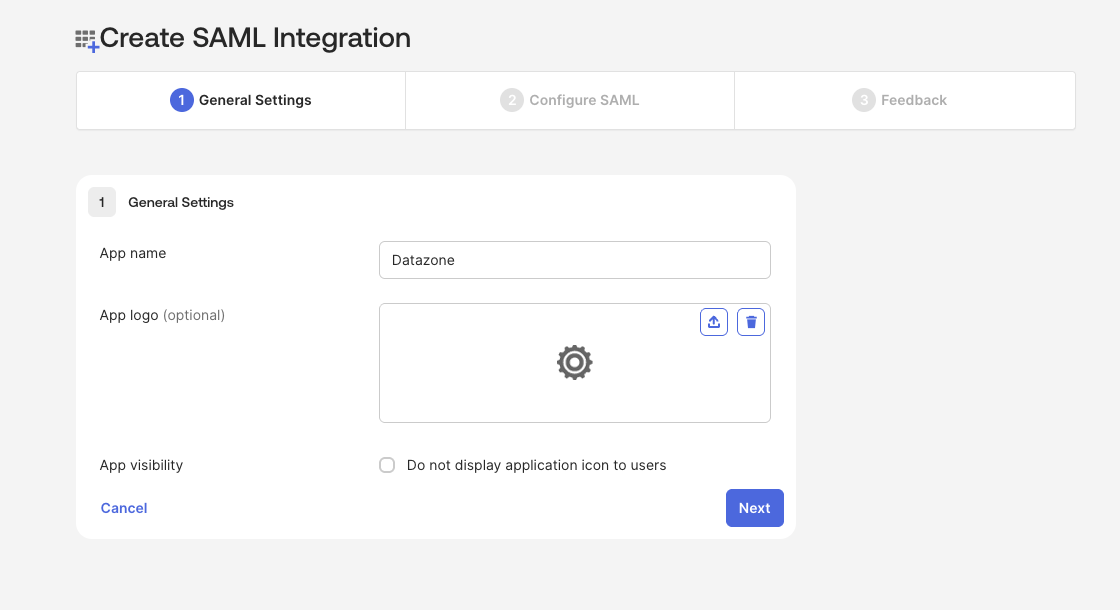
4. Configure SAML Settings
In the Configure SAML section, set the following parameters:- Single sign-on URL:
https://YOUR_DATAZONE_DOMAIN/api/v1/auth/saml/acs - Audience URI (SP Entity ID):
https://YOUR_DATAZONE_DOMAIN/api/v1/auth/saml/acs - Application username:
Email
Replace
YOUR_DATAZONE_DOMAIN with your actual Datazone instance domain.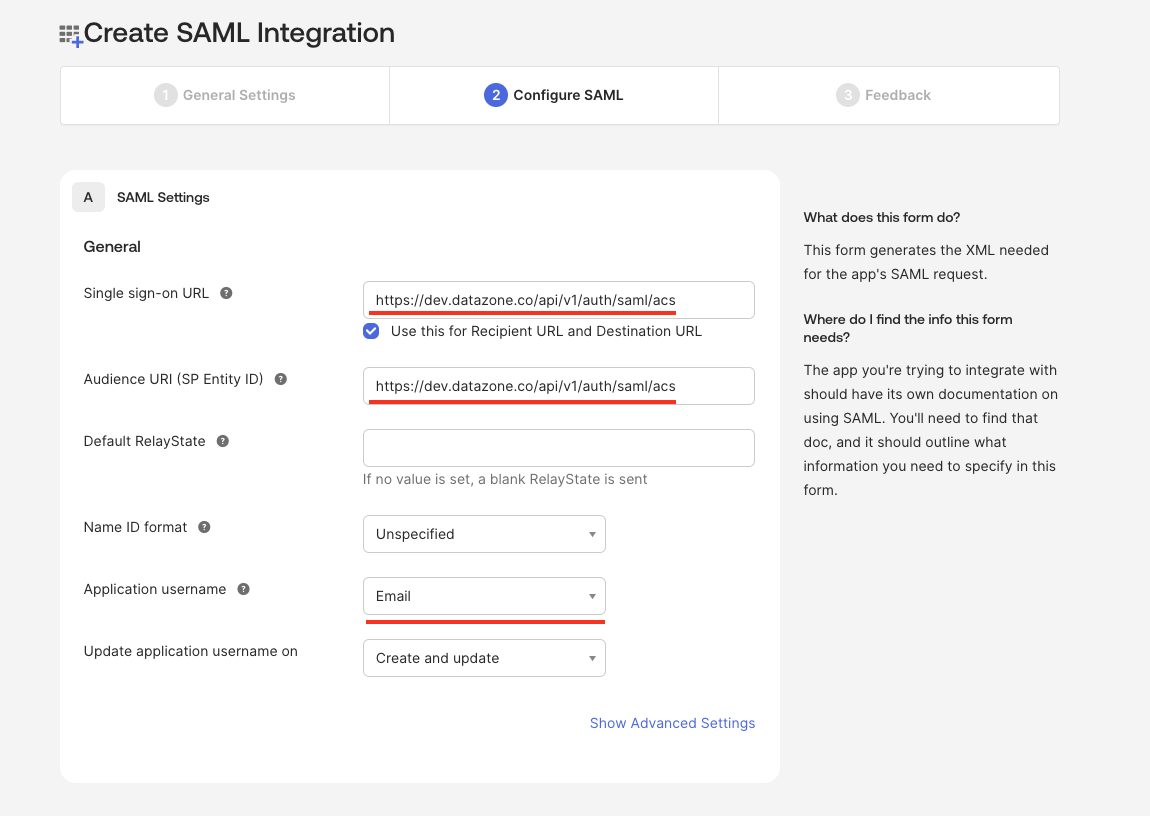
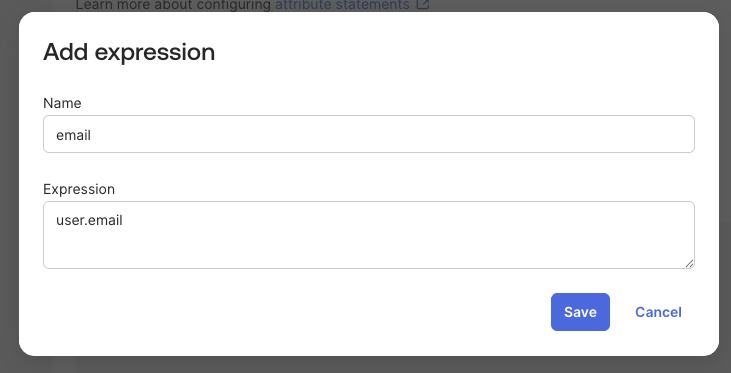
5. Add Attribute Statements
Once the application is created, navigate to the Sign On tab. Under Attribute Statements, add the following attribute mapping: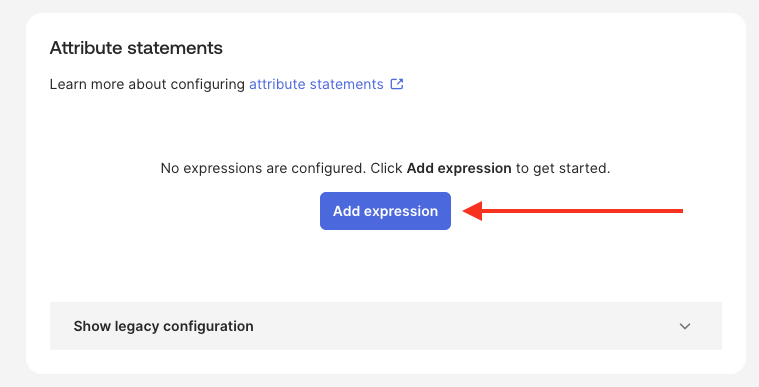
6. Assign Users or Groups (Optional)
Assign the appropriate users or groups to the application to control who can access Datazone through Okta.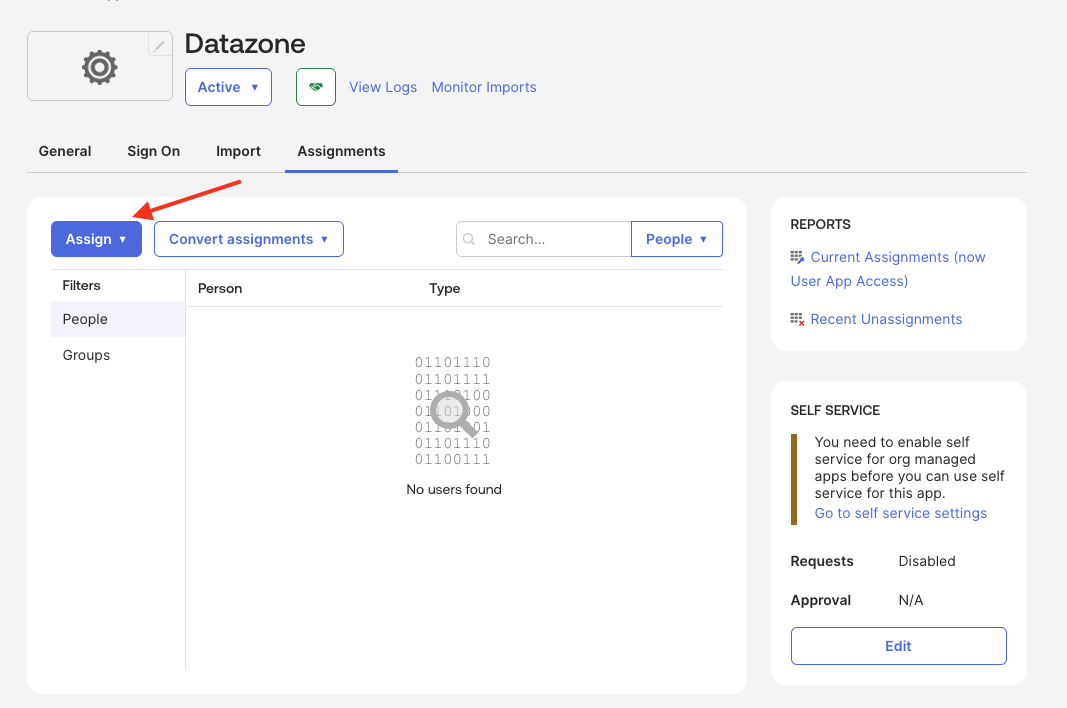
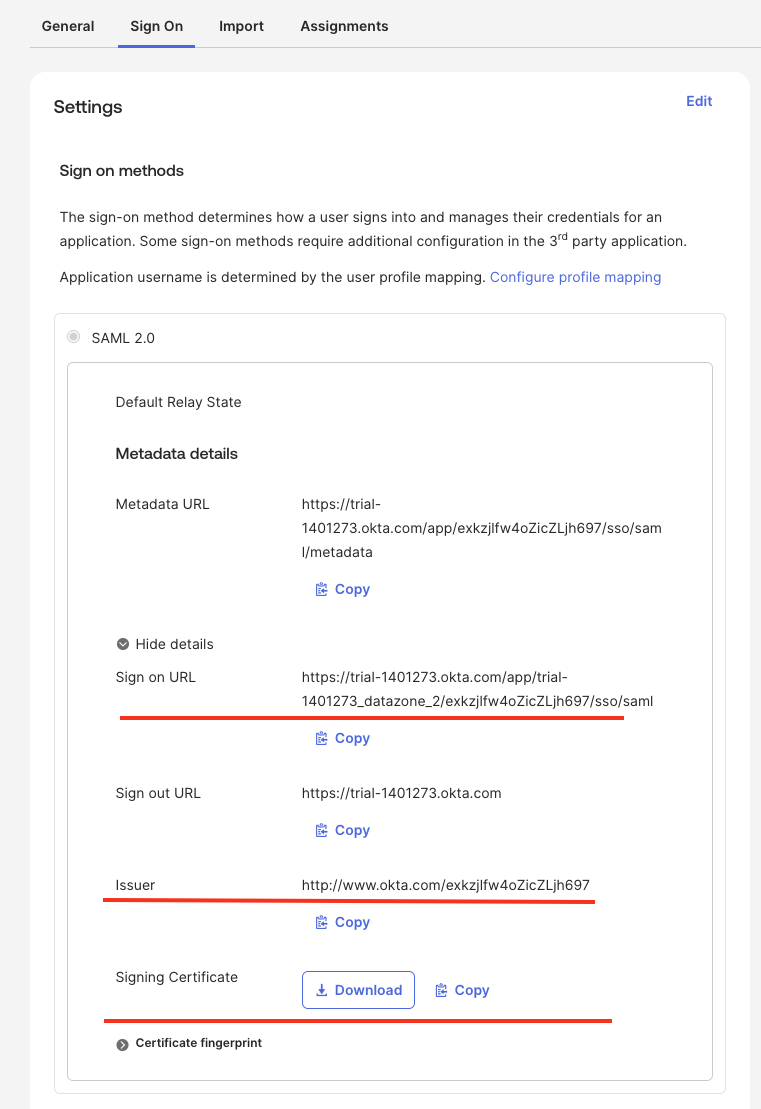
7. Collect Okta Configuration Details
After configuring the application, gather the following information from the Sign On tab:- Identity Provider Single Sign-On URL (SSO URL)
- Identity Provider Issuer (Entity ID)
- X.509 Certificate (Download the certificate)
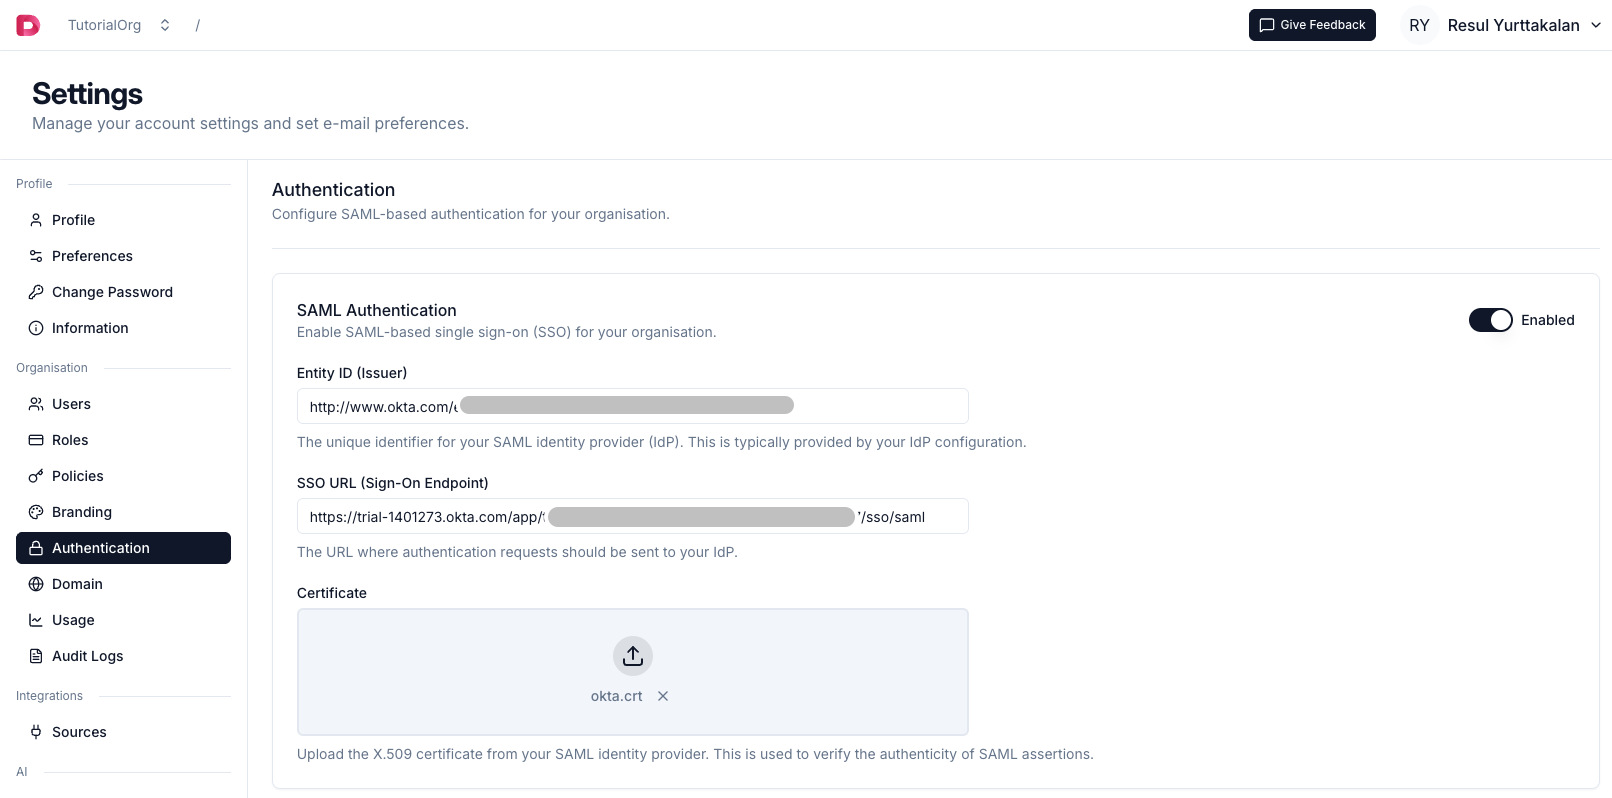
8. Enter Configuration in Datazone
Finally, enter the collected information into the Datazone SAML configuration settings as described in the SAML Overview guide:- Entity ID (Issuer): Use the Identity Provider Issuer from Okta
- SSO URL: Use the Identity Provider Single Sign-On URL from Okta
- Certificate: Upload the downloaded X.509 certificate
Testing Your Configuration
After completing the setup:- Navigate to your Datazone login page
- Click on the SSO/SAML login option
- You should be redirected to Okta for authentication
- Upon successful authentication, you’ll be redirected back to Datazone
If you encounter any issues during setup, refer to the SAML troubleshooting
guide or contact support at support@datazone.co