

Embedding Agents
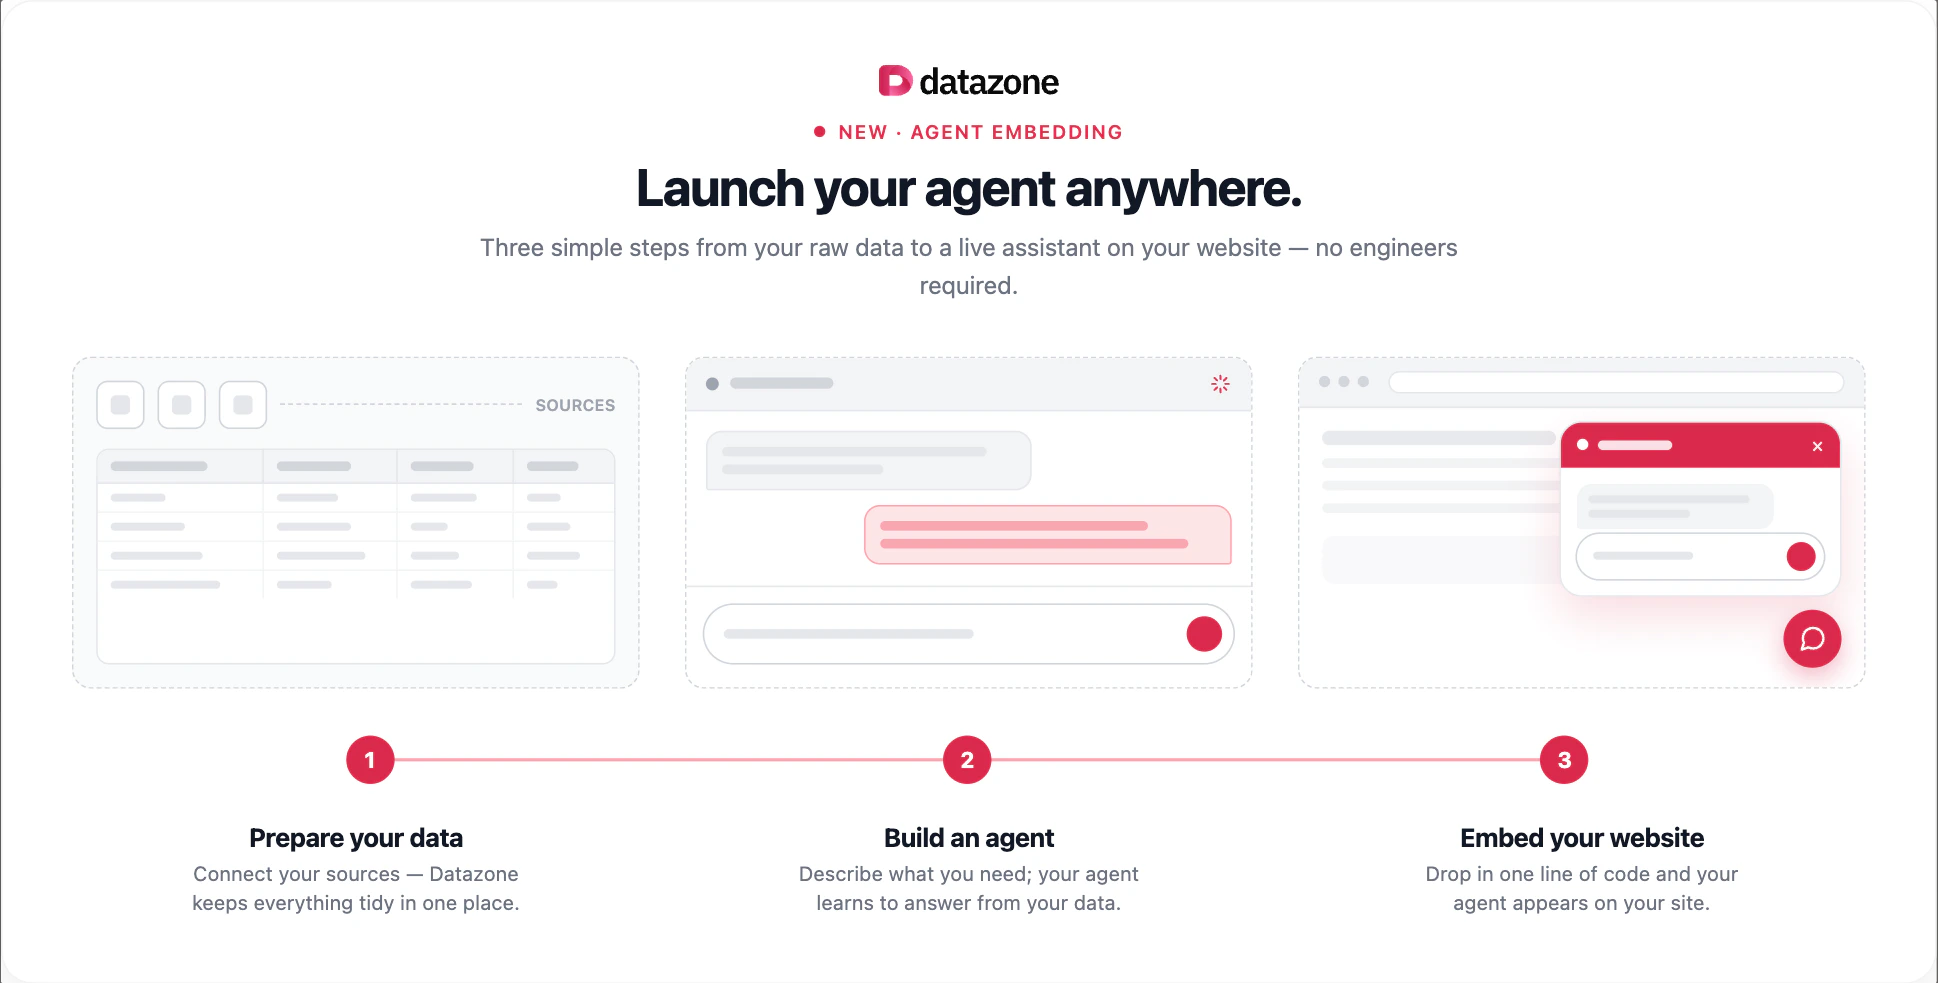
You already have the ability to create agents on top of your lakehouse. With embedding, you can take those same agents and drop them into your own apps, websites, or any third-party tool — with just one line of code.
Overview
Embedding works through a secure, token-based mechanism:- Your server generates a signed JWT token containing the agent ID and embedding configuration.
- The token is used to build a signed script URL.
- You drop a single
<script>tag into your HTML, and the agent renders inside your application.
Widget Types
When embedding, choose how the agent appears in your application: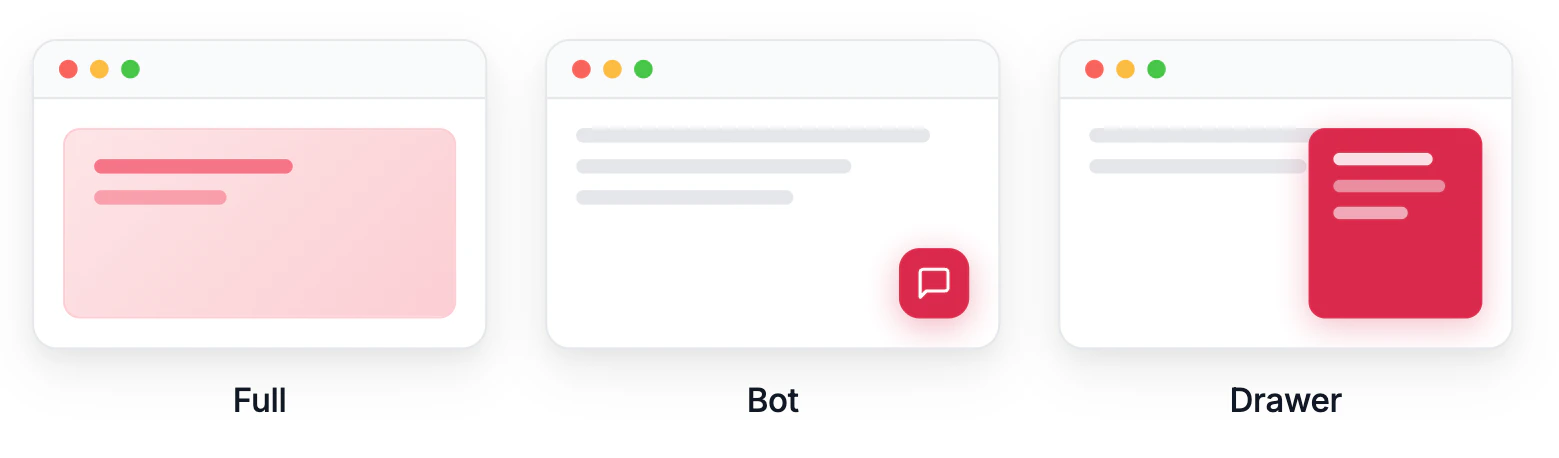
Integration Steps
1. Generate the Signed Script URL
Insert this snippet into your server code to generate the signed script URL. The secret key must stay on the server — never expose it in client-side code.You can use
user_id instead of email in the payload for user identification based on your application’s needs.2. Add the Script to Your Page
Then insert this snippet into your HTML template or single page app:{scriptUrl} with the signed URL generated on your server.
The container
<div> is only needed for the full widget. The bot and drawer widgets render their own floating UI and ignore the container.Embedding Parameters
The JWT token payload can include the following parameters:embedding_config Options
Example: Full Server-Side Implementation
Here’s a more complete example using Node.js / Express:Security Considerations
- Keep your Datazone secret key secure and never expose it in client-side code.
- Generate tokens server-side and pass the complete script URL to your frontend.
- Use the
emailoruser_idfield to scope access and track usage per user. - Set appropriate content security policies for embedding.
Troubleshooting
If your embedded agent isn’t loading correctly:- Check that your token is signed correctly with the right secret key.
- Verify that the agent ID is correct.
- For the full widget, ensure the
datazone-agent-embed-containerdiv exists on the page. - Look for CORS or CSP issues in your browser’s developer tools.
Next Steps
- Agents Overview - Learn how to create and configure agents
- Chat Interface - Explore the conversational experience
- Contact Support - Get help with embedding setup